How to treat fences and outbuildings with opaque wood protection
Opaque wood protection is the easiest way to give a fence or shed a colour that lasts for years. Here's how to get it to bond properly – and avoid peeling.

Outdoor timber has one major problem: moisture. Wood protection is not primarily decorative — it’s a coating that keeps water out and lets the wood breathe. Opaque wood protection is the most durable choice for fences, sheds, carports and outbuildings — provided it’s applied to clean, dry and primed wood. Here’s how to do it.
What you need to know before you start
- Weather matters. Paint at 10–25 °C, in dry conditions and overcast weather or shade. Never in direct sun on warm wood, and never if rain is forecast within 24 hours.
- The wood must be dry — below 18% moisture content. After rain: wait at least two dry days.
- Coverage: approx. 6–8 m² per litre per coat on planed timber, less on rough timber. A fence of 20 m² in two coats = approx. 6–7 litres.
- Dark colours = C-base. Black, anthracite and dark grey are mixed in C-base; whites and light shades in A-base. Select your colour using the colour picker on the product page and we’ll ensure you get the correct base.
How to do it
1. Clean the wood
Wash the fence or outbuilding with an outdoor wood cleaner and scrub away algae and dirt with a stiff brush. Rinse thoroughly and allow to dry completely — ideally for two days. Scrape off any loose or flaking old paint, and sand any glossy surfaces to a matt finish.
2. Prime bare wood
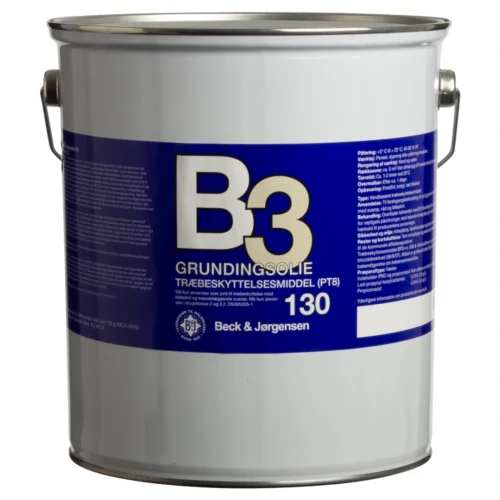
New, untreated timber and any areas where you’ve scraped back to bare wood should be primed with a priming oil. This penetrates the wood and ensures the wood protection bonds properly — it’s the step that determines whether you’ll need to do it all again in two years. Allow the oil to dry overnight.
3. First coat of wood protection
Stir the tin thoroughly. Use a wide brush (70–100 mm) for fencing and profiled sections, and a long-pile roller for large, flat surfaces — but always finish with a brush along the grain to work the paint into the wood. Make sure end grain and joints are well covered; these are the areas where water gets in.
4. Second coat
Wait until the first coat is dry (typically overnight), then apply a second coat. Two coats aren’t “just to be safe” — they’re what gives you lasting durability. New fences made from fresh-sawn timber may need a third coat on the south-facing side.
Tips and common mistakes
- Start with the back or a corner that’s out of sight — that way you’ll have found your rhythm before you reach the front.
- Don’t paint in the evening dew. Stop an hour before sunset, otherwise you’ll be left with dull, patchy marks.
- End grain absorbs the most. Give the tops of posts and boards an extra coat — or fit a protective cap.
- Keep some paint back in a sealed tin for touch-ups. Write the colour and base on the lid.
Frequently asked questions
Can I apply opaque wood protection over old, transparent wood treatment?
Yes, provided the old treatment has been washed and is matt, and there is no loose material. Prime any areas where bare wood is exposed.
How often does it need repainting?
A fence treated with opaque wood protection typically lasts 6–10 years, depending on its aspect and colour. Dark colours absorb more heat in the sun and may need checking a little more often.