
How to paint walls – step by step
From masking to the final coat: the complete method for walls that are even, well-covered and neat at the edges.
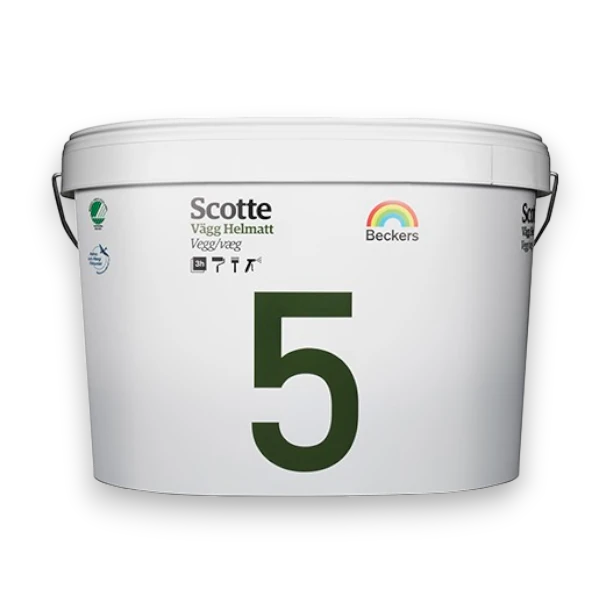
Painting walls is the most common DIY task, and it’s not difficult – but most people cheat themselves out of a good result by skipping the preparation. 80% of the work happens before you open the paint tin. Here is the order we follow ourselves.
Choose the right paint
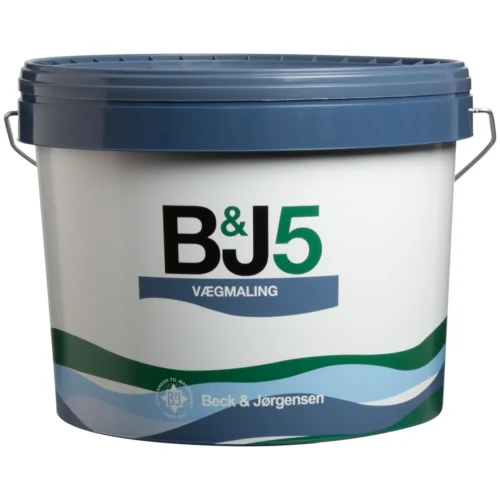
- Gloss 5: matt and forgiving – the standard choice for living rooms, bedrooms and hallways.
- Gloss 7–10: a little more durable and easier to wipe down – ideal for children’s rooms, entrance halls and stairwells.
- Gloss 20–25: for kitchens and utility rooms where the walls need to be washable.
- Quantity: approx. 8 m² per litre per coat. Measure the perimeter of the room multiplied by the height, subtract windows and doors, then multiply by two coats.
If you’re unsure about gloss level or colour, use the paint guide – it asks you about the room and recommends the right paint.
How to do it
1. Clear the room and cover up
Take down pictures, shelves and socket covers (turn off the power first). Cover the floor with plastic sheeting or cardboard, and apply masking tape along skirting boards, frames and the ceiling. Press the tape down firmly with a filling knife or a card so that paint cannot seep underneath.
2. Wash, fill and sand
Wash the walls with a sugar soap solution – particularly in kitchens and on walls that get touched frequently. Rinse with clean water. Fill screw holes and nail holes with lightweight filler, and larger cracks with fine surface filler. Sand the filled areas flat with fine-grade sandpaper (grit 120–180) and wipe away the dust.
3. Seal joints
If there are cracks in corners or between the wall and skirting board, apply a thin bead of decorator’s caulk and smooth it with a damp finger. It’s the small detail that makes a room look freshly painted and truly finished.
4. Prime where necessary
Filled patches and new plaster absorb more paint than the rest of the wall and can leave patches if they are not primed. Apply wall paint or a primer to these areas and allow to dry.
5. Cut in first, then roll
Paint the edges along the ceiling, corners and frames with a brush – one wall at a time. Then roll the wall with an 18–25 cm roller using straight up&down strokes, filling in until the surface is covered. Finish with light, vertical strokes from top to bottom while the paint is still wet.
6. Second coat
Allow the first coat to dry according to the instructions (typically 2–4 hours), then apply a second coat. Remove the masking tape while the final coat is still slightly damp – this way the edge won’t tear.
Useful tips and common mistakes
- Stir the paint thoroughly – even new tins. Paint can separate and the pigments can settle to the bottom.
- Paint an entire wall in one go. If you stop halfway across a wall, the join will show afterwards.
- Don’t change colour with too few coats. Going from dark to light requires a minimum of 2 coats – or a coat of primer first.
Frequently Asked Questions
Should I paint the ceiling first?
Yes – always paint the ceiling first, then the walls, and finally the woodwork. That way each new coat covers the splashes from the previous one.
How long should I wait before hanging pictures?
Wait 24 hours before hanging anything. The paint can handle light use after a day, but it won’t be fully hardened for 2–4 days, and you should avoid scrubbing the wall during the first few weeks.
Products from the guide





More guides
 MalingHow to paint woodwork, doors and panelsDøre, karme og fodpaneler er det, der bliver rørt ved hver dag. Her får du den fremgangsmåde, der giver en glat, slidstærk…
 MalingHow to paint a ceiling without streaksLoftet er det første, man ser striber i. Her er fremgangsmåden, der giver et jævnt, mat loft i én omgang – også…